In this tutorial, we’ll see how to create API keys on Coinbase Pro to connect your Coinbase account to third-party services. These may be bitcoin trading bots like Botcrypto, but also tools related to taxation or viewing your assets.
What’s an API?
An API is a programming interface that allows you to “plug in” to an application to exchange data.
In our case, the API allows you to access a trading platform and perform various actions. It’s possible to restrict access to a third party via an API key. Example: Allow to view the funds in your Coinbase Pro account but prevent withdrawals.
How to create API keys on Coinbase Pro?
You must first create a Coinbase account and then go to Coinbase Pro.
Once connected to Coinbase Pro, click on the top right menu, then on API. You are now in front of your list of API keys.
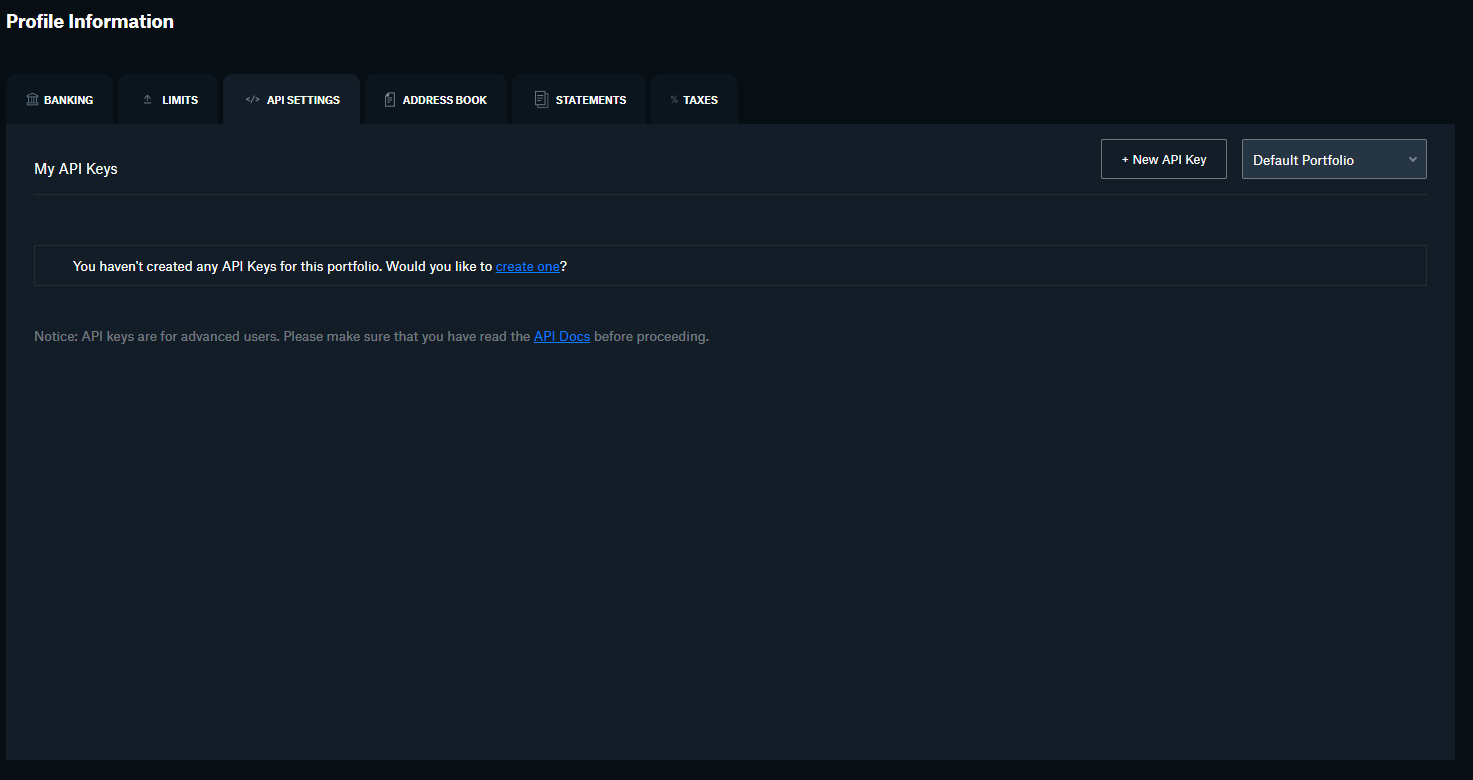
Click on + New Api Key to open the key creation form, where you will be asked to fill in several fields.
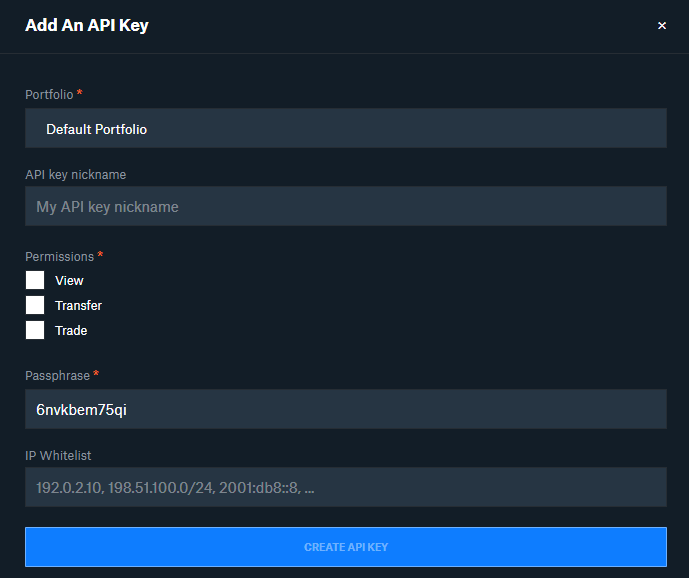
You must choose which of your portfolios will be the target of this API key. If you have only one, leave Default Portfolio as answer.
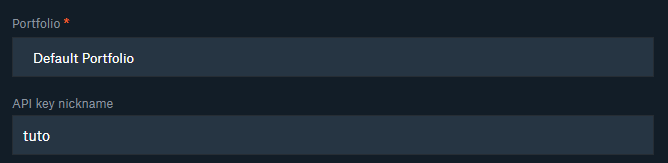
Adding a name to your key is optional but I recommend you to do it. In my case I will name it “tuto”. It’s useful to find your way around if you have several API keys.
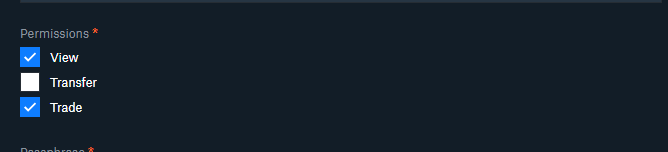
Then check which permissions you assign to this API key. In the context of trading bots I will give him the permission to “View” to see the amount of assets in the portfolio and “Trade” to authorize trading actions (open position/buy/sell). I don’t give the “Transfer” permission because I don’t want the service I use to automate my trading to have the possibility to withdraw my money from my accounts.
A PassPhrase has been automatically generated and you can change it or keep it as is. If you don’t know what a PassPhrase is, leave the original one.
The last field is IP Whitelist if you want to restrict the use of this key to a list of IPs for more security.
Click on “Create API key” to finalize the creation of the API key.
You will surely get an authentication request via SMS or on your two factor authentication application.
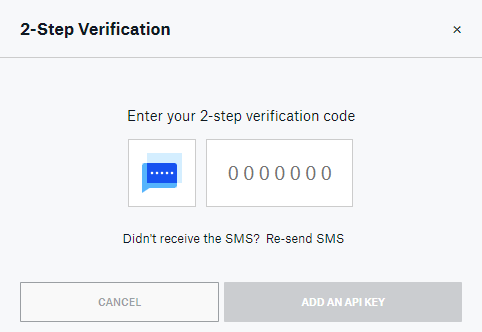
Once this is done you should get a validation message for the creation of the key.

Keep carefully the private key API Secret provided. It will not be possible to retrieve it after this.
You have now succesfully created an API key!
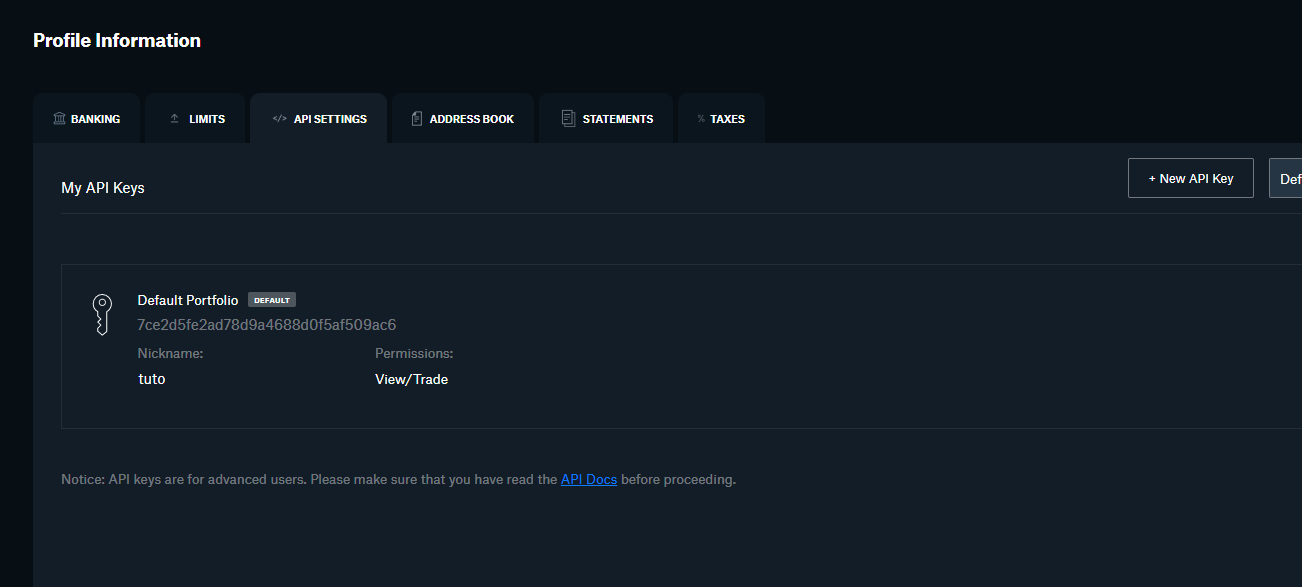
To use this key on a service you will be asked for a public and private key. The public key is the one displayed on the card of an API key as on the previous screenshot 7ce2d5fe2ad78d9a4688d0f5af509ac6 and the private key is the API Secret you saved preciously before.